
Baking a Simple Loaf for Weekend Breakfasts
Why a Weekend Loaf Is Worth the Wait
There is a particular kind of Saturday morning that begins with flour on the worktop and ends with a warm slice in your hand. Baking a simple loaf is not about showing off or chasing perfection. It is about slowing down, doing something with your hands, and filling the house with a smell that no candle has ever managed to copy.
A basic loaf costs pennies. It needs no special equipment beyond a bowl and an oven, and once you have made it a few times, the whole thing becomes a rhythm rather than a recipe. You start it on Friday evening or early Saturday morning, potter about while it proves, and by mid-morning you have bread that is far better than anything sliced and wrapped. This is the sort of baking that suits cottage life: unhurried, generous, and made to be shared at a kitchen table with too much butter and a decent pot of tea.
Four Ingredients and a Few Bits of Kit
The heart of a good plain loaf is deliberately plain. This makes one 900g tin loaf, which gives you roughly eight thick slices.
- 500g strong white bread flour — strong is important, as it has the protein needed for a proper rise. You can swap in up to 100g wholemeal for a nuttier crumb.
- 7g dried yeast — one sachet, or about 15g fresh yeast if you can get it.
- 10g fine salt — roughly two level teaspoons. Do not leave it out; it is what gives bread its flavour.
- 320ml lukewarm water — blood warm, not hot, or you will kill the yeast.
On the kit front, a large mixing bowl, a jug, a wooden spoon, a clean tea towel, a 900g loaf tin, and a cooling rack are all you need. A set of digital scales matters more than any gadget. Bread is forgiving, but it is not forgiving about guesswork with flour and water.
Mixing, Kneading and the First Rise
Tip the flour into your bowl and stir the salt through it. In a jug, whisk the yeast into the lukewarm water and leave it for five minutes until it looks slightly cloudy and smells faintly of beer. Pour the liquid into the flour and bring it together with a spoon or your hand until you have a shaggy, sticky mess. Cover and leave it for ten minutes — this short rest makes the dough far easier to work.
Now knead. Turn it out onto a lightly floured surface and push it away with the heel of your hand, fold it back, turn, and repeat. After eight to ten minutes it will change character completely: smooth, springy, and slightly tacky rather than sticky. To test it, stretch a small piece between your fingers. If it goes thin enough to see light through without tearing, it is ready.
Return the dough to a lightly oiled bowl, cover with the tea towel, and leave it somewhere warm and draught-free for one to two hours, until it has roughly doubled. A cool kitchen will simply take longer. Good bread is rarely in a hurry.
Shaping and the Second Rise
Turn the risen dough out and press it gently to knock out the big air bubbles. Flatten it into a rough rectangle, fold the two long sides into the middle, then roll it up tightly from one short end, pressing the seam down with your thumb. Drop it seam-side down into a greased loaf tin.
Cover again and prove for 45 to 60 minutes. The dough is ready when it has risen just above the rim of the tin, and when a light press with a fingertip springs back slowly rather than snapping back instantly. If it springs back fast, give it another fifteen minutes. While it proves, heat the oven to 220°C (200°C fan, gas 7) and put a baking tray on the bottom shelf to get hot.
Into the Oven
Dust the top of the loaf lightly with flour and, if you like, slash a single line down the middle with a sharp knife. Pour a mug of water into the hot tray on the bottom shelf — the burst of steam gives the crust a lovely shine — then slide the loaf in on the middle shelf.
Bake for 30 to 35 minutes, turning it once if your oven runs unevenly. The loaf is done when it is deep golden, sounds hollow when tapped on the base, and reads about 96°C in the middle if you have a thermometer. Turn it out of the tin straight away and cool it on a rack. This is the hard part: cutting it warm ruins the crumb. Twenty minutes of patience is worth it. Wrap the cooled loaf in a tea towel and it will keep two or three days, or slice and freeze it for toasting.
Weekend Breakfasts Worth Waking Up For
Fresh bread is a breakfast in itself, but a few simple things make a weekend of it.
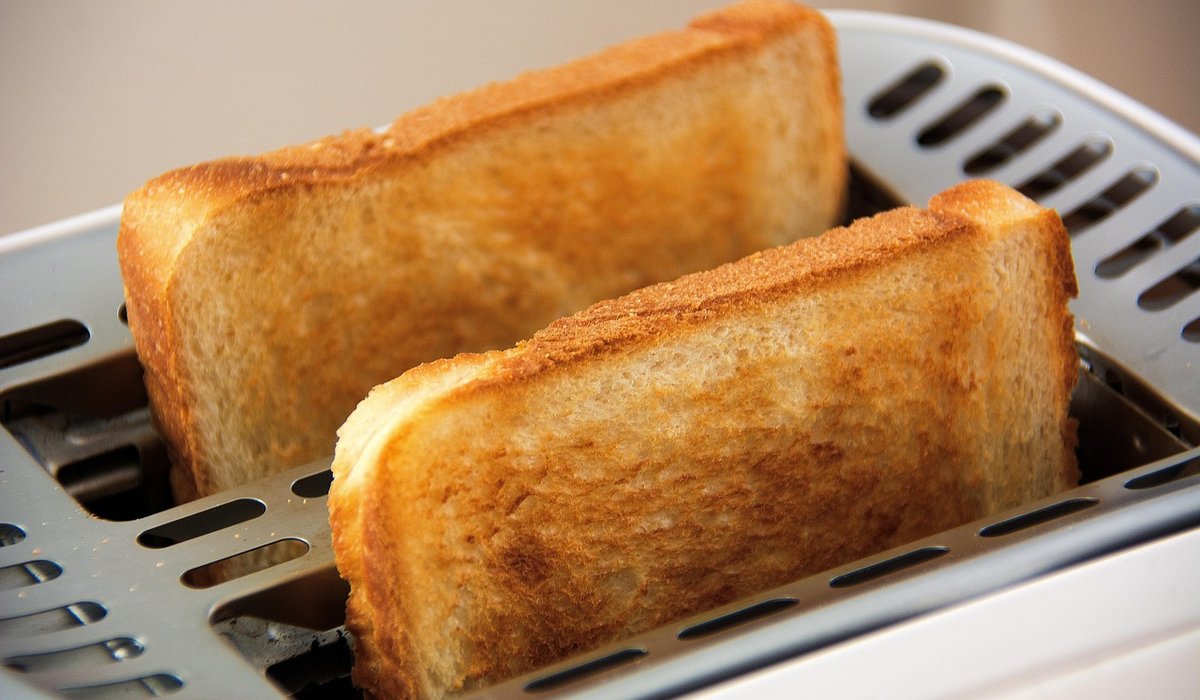
- Thick toast and good butter, with marmalade, honey, or a spoonful of jam you made in the autumn.
- A proper bacon sandwich — back bacon, a little brown sauce, bread cut thick enough to hold it all together.
- Poached or soft-boiled eggs with soldiers cut from the first slice.
- Fried bread in the pan after the bacon, for those mornings that call for something serious.
- Cheese on toast for the late risers, grilled until it bubbles at the edges.
Bake it once and you will find yourself doing it again the following weekend. That is the quiet pleasure of a homemade loaf: it asks for four ingredients, a little time, and nothing much else, and it gives back a kitchen that smells like home.


Capture seasonal flavour by making small jars of strawberry or raspberry jam, using simple equipment and sterilised containers for safe storage.
Use slim consoles, wall hooks and a mirror to keep a narrow hallway tidy, bright and welcoming without blocking the walkway.
Make the most of limited cupboards with stackable jars, drawer dividers and hanging rails, keeping everyday items visible and easy to reach.
Turn an awkward corner into a snug retreat with layered lighting, a comfortable armchair and soft textiles for year-round comfort.